What You'll Need
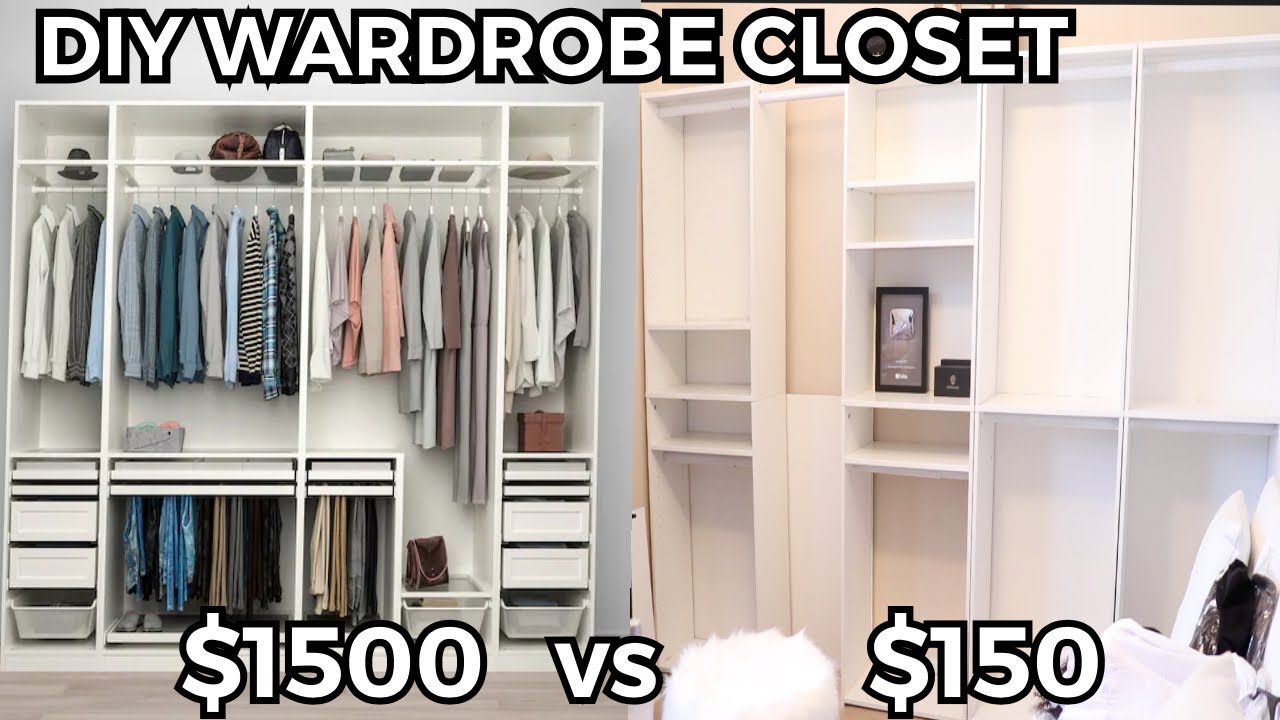
Looking to create a custom closet system without spending thousands on IKEA Pax wardrobes? This budget-friendly DIY project transforms basic bookshelves into a fully functional closet system for under $150. Perfect for apartments, townhouses, or small spaces where standard closet systems are too deep or too tall.
Materials:
- 4 Target bookshelves (or similar brand)
- Adjustable closet bars (9 bars at approximately $7 each from Home Depot)
- Wood screws (included with bookshelves)
- Nails for backing installation
- Extra nails for joining units together (optional)
Tools:
- Power drill (Black+Decker or similar)
- Drill bit (for creating pilot holes)
- Phillips head screwdriver (long, skinny one recommended)
- Measuring tape
- Level
- Pencil for marking
- Hammer
Step-by-Step Guide
Step 1: Measure Your Space
Before purchasing anything, measure your room carefully. Check the width, depth, and height of the space where your closet system will go. Standard IKEA Pax wardrobes are about 29 inches deep, which may be too deep for smaller rooms. Measure twice to avoid costly mistakes.
Step 2: Label All Bookshelf Pieces
This step is crucial. Open your bookshelf boxes and label every single piece before assembly. Use masking tape and a marker to identify:
- Top and bottom panels (mark as "G" pieces)
- Side panels (left and right)
- Middle support pieces (L-shaped brackets)
- Shelves
- Long support bars
Stand the pieces against the wall in the position they'll eventually go. This visual aid helps prevent assembly errors that could cost you hours.
Step 3: Assemble the First Bookshelf
Start with the bottom panel piece. Attach the side panels using the provided screws. Make sure the brown wooden sides face inward. Add the middle support piece (L-shaped bracket) that holds everything together.
Pro tip: The included instructions may not label pieces clearly. Rely on your own labeling system instead.
Step 4: Install the Shelves
You don't have to use all the shelves provided. The bookshelf comes with multiple shelf options, but you can customize:
- Leave some sections open for hanging clothes
- Add more shelves for shoes and folded items
- Keep the middle support bar in place for stability
For a closet system, consider leaving the bottom section open for long dresses and coats.
Step 5: Attach the Backing
The fake wood backing pieces are essential for stability. Nail them into place on the back of each bookshelf unit. This step makes the entire system solid and prevents wobbling.
Don't skip this step even if it's tedious. A unit without backing will look shabby and feel unstable.
Step 6: Position and Join Units Together
Place your assembled bookshelves against the wall in your desired configuration. If you want to join units together, drill through the side panels and screw them together. This is optional but adds extra stability.
Warning: Joining units is difficult to undo. Make sure you're happy with the layout before drilling.
Step 7: Install Adjustable Closet Bars
This is the trickiest part. Follow these steps carefully to avoid stripping screws:
- Mark where you want each closet bar to go
- Use a drill bit to create pilot holes
- Drill a screw into the hole by itself, then remove it
- Place the closet bar bracket in position
- Use a long, skinny screwdriver (not a drill) to insert the final screw
Why this matters: A drill is too bulky to fit at the right angle in tight spaces. Using a screwdriver ensures you get a straight, secure installation without stripping the screws.
Step 8: Test and Adjust
Hang a few items to test the system. Make sure hangers slide easily along the bars. Adjust bar height if needed. Leave enough space at the bottom for your longest garments.
Tips for Success
- Label everything immediately. Don't wait until you're in the middle of assembly. Labeling pieces saves hours of frustration and prevents you from having to disassemble and restart.
- Use a long, skinny screwdriver for closet bar installation. This single tip can save you 9+ hours of fixing mistakes. The drill is too bulky to get the perfect angle needed.
- Install backing on at least one unit. Even if you skip backing on some units, make sure at least one is fully backed. This provides a stable anchor point for the entire system.
- Leave room for hanger movement. When positioning closet bars, ensure there's enough space for hangers to slide in and out easily. Test with a hanger before committing to the final position.
- Have help available for tricky parts. While this project is doable alone, having someone assist with installing closet bars and joining units makes the process much smoother.
