What You'll Need
Building your own closet organizer is an easy, budget-friendly project that you can customize to your specific needs. With basic tools and materials, you can create a professional-looking storage system that maximizes your closet space. Follow this step-by-step guide to build a DIY closet organizer like a pro.
Tools:
- Laser measurer or tape measure
- Circular saw or miter saw
- Power drill with drill bits
- Countersink bit
- Carpenter's square
- Level
- Stud finder
- Pencil
- Safety glasses
- Hearing protection
Materials:
- 7 pieces of 8 ft 1x12 lumber (for shelves and supports)
- 2 pieces of 1x3 lumber (for support rails)
- Wood screws (2-1/2" or 3" length recommended)
- Wood glue (optional)
- Paint or stain (optional)
- Sandpaper (120-grit and 220-grit)
Step-by-Step Guide
Step 1: Measure Your Closet Accurately
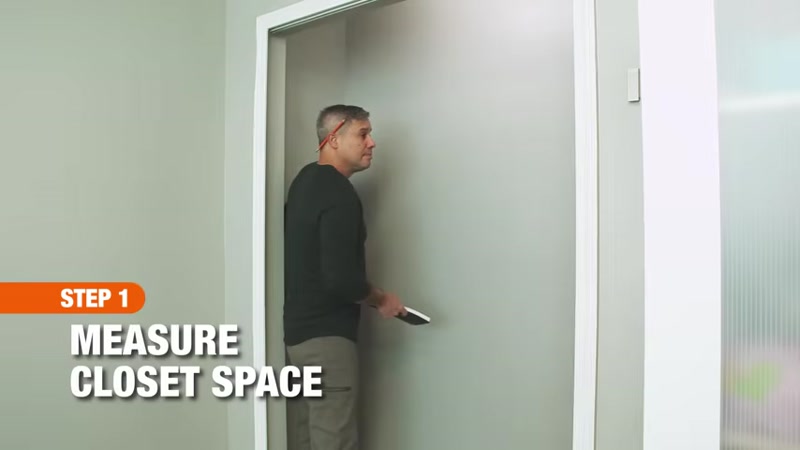
Start by taking precise measurements of your closet using a laser measurer or tape measure. You'll need three key measurements:
- Back wall width: Measure from side to side along the back wall
- Sidewall depth: Measure from the front opening to the back wall on both sides
- Closet height: Measure from floor to ceiling
Write down all measurements and double-check them for accuracy. These dimensions will determine the length of your shelf supports, central unit, and shelves.
Step 2: Cut Your Lumber
Using your measurements, cut the 1x12 boards into the following pieces:
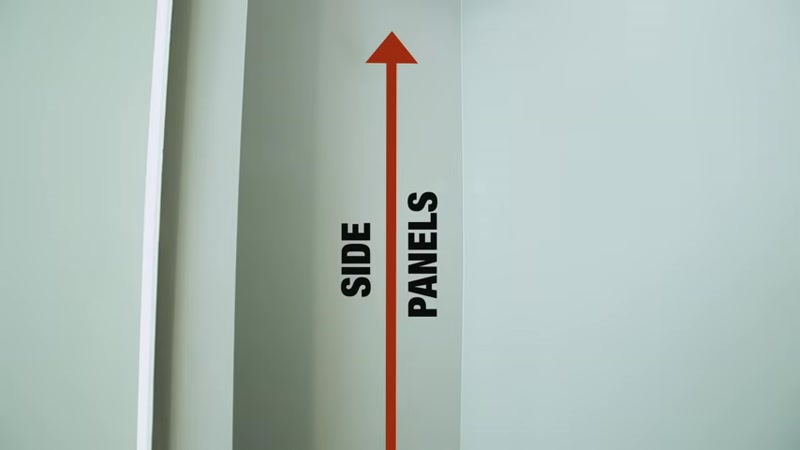
- Side panels: Cut two pieces to the height from the closet floor to where you want the top shelf to sit
- Top shelf: Cut one piece to the full length of the back wall measurement
- Lower shelf: Cut one piece to the back wall length minus 1-1/2 inches (this accounts for the 3/4-inch thickness of each sidewall support)
- Center unit side pieces: Cut two pieces to the height of the lower shelf
- Shelf pieces: Cut the remaining lumber into 12-inch long pieces for the shelves
Sand all cut edges with 120-grit sandpaper, then finish with 220-grit for a smooth surface.
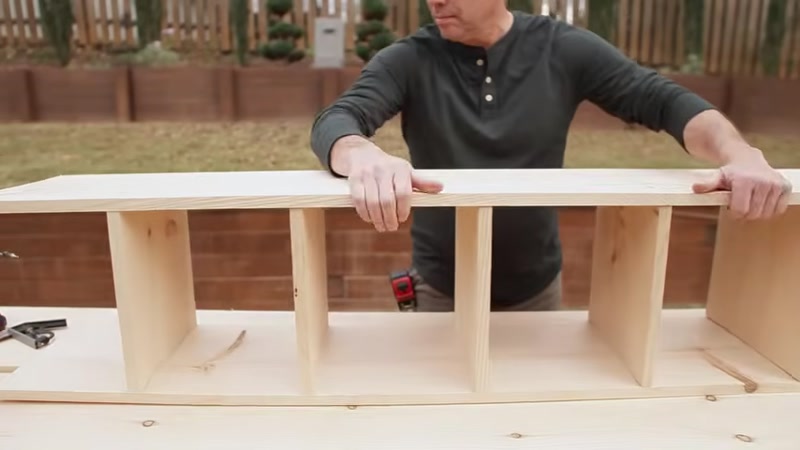
Step 3: Assemble the Central Unit
The central unit will support your lower shelf and provide stability. To assemble it:
- Take the two center unit side pieces and lay them flat
- Using your carpenter's square, measure and mark the shelf locations on both boards
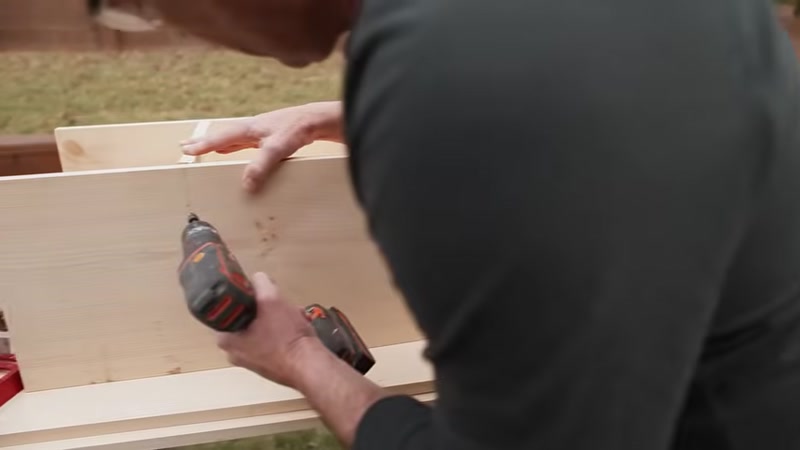
- Pre-drill holes at each marked location using a countersink bit
- Attach the shelf pieces between the side pieces using wood screws
- Leave the top and bottom of the unit open for now—you'll attach these later
Step 4: Paint or Stain Before Assembly

This is the perfect time to paint or stain all the pieces of your organizer. Painting before assembly ensures you get clean, even coverage on all sides, including hard-to-reach areas after installation.
Apply at least two coats of paint or stain, allowing proper drying time between coats. If you're using paint, lightly sand between coats with 220-grit sandpaper for a smooth finish.
Step 5: Install the Side Panels

The side panels will bear most of the weight of your closet organizer, so proper installation is critical.
- Use a stud finder to locate wall studs in your closet
- Position the side panels against the sidewalls, making sure they're level
- Mark the stud locations on the panels
- Pre-drill holes and attach the side panels to the wall studs using wood screws
- Make sure both panels are at the same height and perfectly vertical
Step 6: Install the Lower Shelf Support
The lower shelf needs additional support to hold weight:
- Use the center unit to mark the placement for a 12-inch 1x3 support on both side panels
- Attach the 1x3 supports to the side panels using wood screws
- Ensure they are level and at the same height on both sides
Step 7: Install the Lower Shelf

Now it's time to add the lower shelf:
- Place the center unit between the two side panels at the marked height
- Position the lower shelf on top of the central unit and the 1x3 supports
- Check that everything is level
- Pre-drill holes through the shelf into the supports below
- Secure the shelf with wood screws
Step 8: Add the Back Support

For additional stability:
- Cut a piece of 1x3 to fit between the two side panel supports at the back wall
- Position it against the back wall at the same height as the side supports
- Screw it into the wall studs
- This back support will help hold the top shelf securely
Step 9: Install the Top Shelf

The final structural piece:
- Place the top shelf so it sits on top of both side panels and the back 1x3 support
- Check that it's level front to back and side to side
- Pre-drill holes through the top shelf into the side panels and back support
- Add four screws through the top shelf to secure it in place
- Make sure the shelf is firmly attached and doesn't wobble
Step 10: Customize Your Closet

Now you can personalize your closet organizer to fit your needs:
- Install closet rods beneath the shelves for hanging clothes
- Add wire or plastic baskets for small items
- Use drawer units for folded clothes
- Install hooks on the side panels for bags, belts, or accessories
Tips for Success
- Always pre-drill holes to prevent the wood from splitting, especially near the edges of your boards.
- Use a level at every step - even small errors in alignment will compound as you build, so check level frequently.
- Paint or stain before installation - This saves time and gives a more professional finish since you won't have to work around installed pieces.
- Attach to studs, not drywall - The weight of your clothes and shelves requires solid anchoring. Drywall anchors alone won't be sufficient for this project.
- Measure twice, cut once - Double-check all measurements before making cuts. A single mistake can waste an entire board.
