What You'll Need
Here is a DIY tutorial based on the video transcript provided.
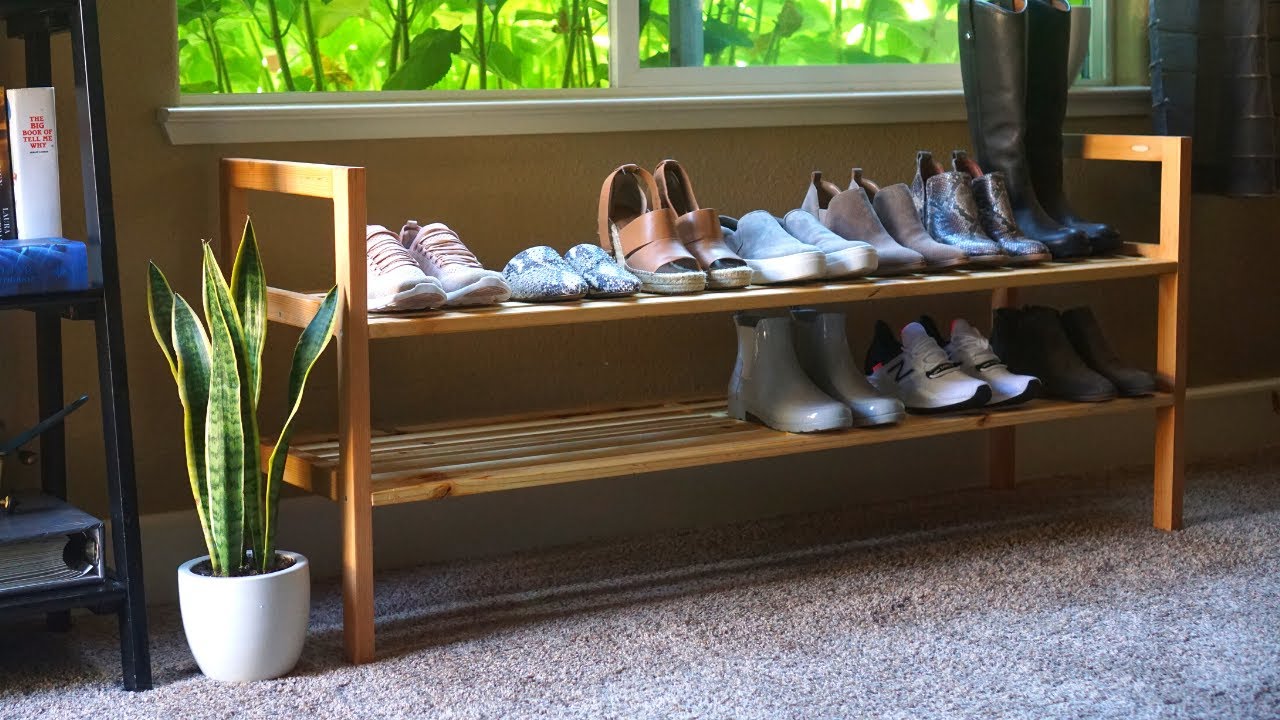
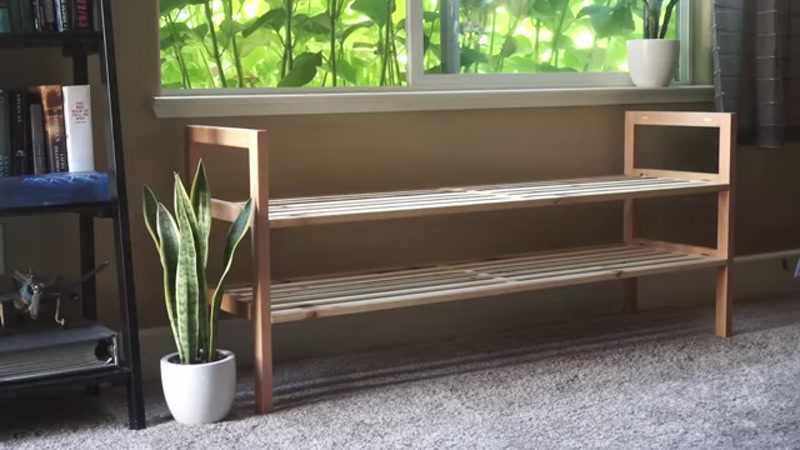
# Build a Simple & Elegant Custom Cedar Shoe Rack
This project is perfect for using up scrap lumber and creating a functional piece of furniture for your closet. We'll walk through building a two-shelf shoe rack using a mix of rough-sawn cedar and Douglas fir. The result is a simple, elegant, and sturdy rack that adds a touch of warmth to any space.
Materials:
- 2 Boards of rough-sawn cedar (for horizontal shelves)
- Douglas fir or pine scraps (for legs and support structure)
- Wood glue
- Danish oil (for finishing)
- Starbond CA glue (medium brown gap filler) or similar wood filler (optional, for knots)
- Painter's tape (optional, for filling deep cracks)
Tools:
- Jointer and planer (or pre-milled lumber)
- Table saw
- Miter saw or circular saw
- Drill/driver
- Pocket hole jig and screws
- Right angle clamp
- Sander (orbital sander recommended)
- Router with a 1/8" round-over bit
- Tape measure
- Pencil
Step-by-Step Guide
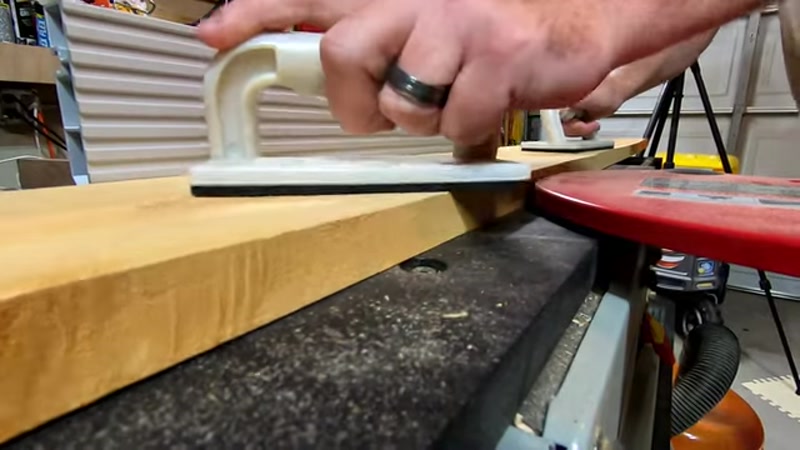
1. Sketch and Prepare Your Lumber
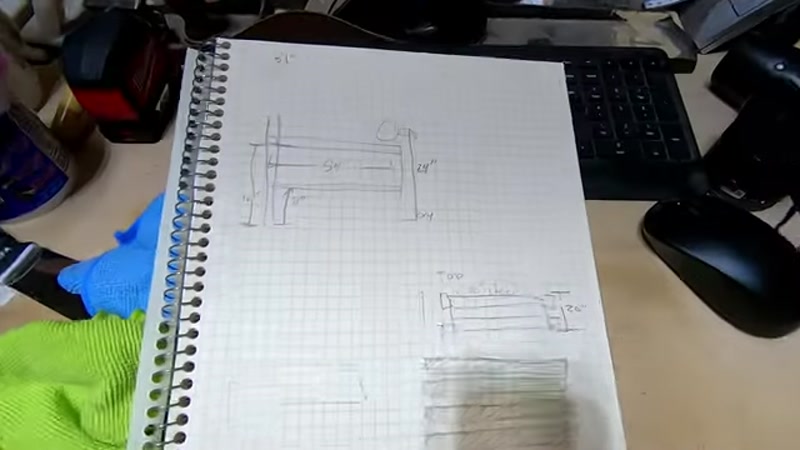
Start with a rough sketch of your desired dimensions. This project used a mix of rough-sawn cedar and Douglas fir scraps. Begin by cutting the cedar boards to the desired length for your shelves. Then, run the rough-sawn lumber through a jointer and planer to create a smooth, flat surface. This is a critical step for a professional-looking final product.
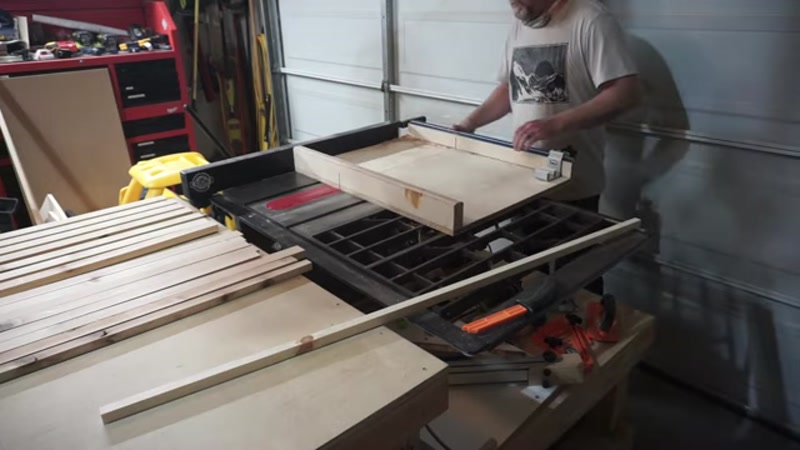
2. Rip the Horizontal Shelf Rails
Once the cedar is milled, use your table saw to rip the boards into the final width for the horizontal rails that will form the two shelves. Cut these pieces to their final length.
3. Create Spacer Blocks for the Slats
To create the gaps between the slats on the shelves, you'll need spacer blocks. Cut small, identical blocks of wood. Pro-Tip: The video creator notes that individual blocks can be tedious. A better method might be to use a half-lap joint for the entire spacer assembly, but individual blocks work well for a beginner.
4. Build the Leg Support Structure

The legs are made from clear Douglas fir. Rip four pieces to the same width and length for the legs. Then, cut the horizontal rails that will connect them. Use a pocket hole jig to drill pocket holes into the ends of the horizontal rails. Apply wood glue to the joints, clamp everything together with a right-angle clamp, and secure with pocket hole screws. This creates the sturdy frame for the rack.
5. Mark Shelf Positions and Fill Knots

Measure and mark where the top and bottom shelves will sit on the leg structure. In this build, the bottom shelf was set at 8 inches from the floor, and the top shelf at 16 inches. If your lumber has any knots or cracks, now is the time to fill them. Use a medium-brown CA glue (like Starbond) to fill the holes. For deep cracks, apply painter's tape underneath to contain the glue. Spray with accelerator to harden it instantly, then sand flush.
6. Round Over the Edges

Use a router with a 1/8" round-over bit to soften all the exposed edges of the leg system and the horizontal shelves. This gives the rack a finished, comfortable feel and prevents splinters.
7. Apply the Finish

Danish oil is an excellent choice for this project. It brings out the natural colors of the cedar and fir and adds a nice contrast. Apply the oil according to the manufacturer's instructions, wiping off any excess. Allow it to dry completely.
8. Final Assembly
Once the finish is dry, it's time for final assembly. Attach the horizontal shelves to the leg structure at the marks you made in Step 5. You can use pocket holes, wood glue, or a combination of both. Clamp and let the glue dry. Your shoe rack is now ready to use!
Tips for Success
- Watch for Glue Residue: Danish oil will not stain over dried glue the same way it stains raw wood. Make sure to clean up any glue squeeze-out immediately after assembly to avoid a blotchy finish.
- Avoid Splitting Wood: When screwing into the end of a long leg, pre-drill a pilot hole. The end grain is very weak, and screwing directly into it can easily split the wood.
- Consider a Half-Lap: The individual spacer blocks for the slats are tedious to cut and align. For a cleaner and faster build, consider using a half-lap joint for the entire spacer assembly.
- Use a Right Angle Clamp: When assembling the leg supports, a right-angle clamp is invaluable for ensuring the frame is perfectly square before you drive the screws.
- Test Your Finish: Always test your Danish oil (or any stain) on a scrap piece of the same wood to ensure you like the final color.
