What You'll Need
Tired of waiting forever for your cheap soldering iron to heat up? Or worried about frying expensive components because your iron runs at max temperature with no control? This project fixes both problems.
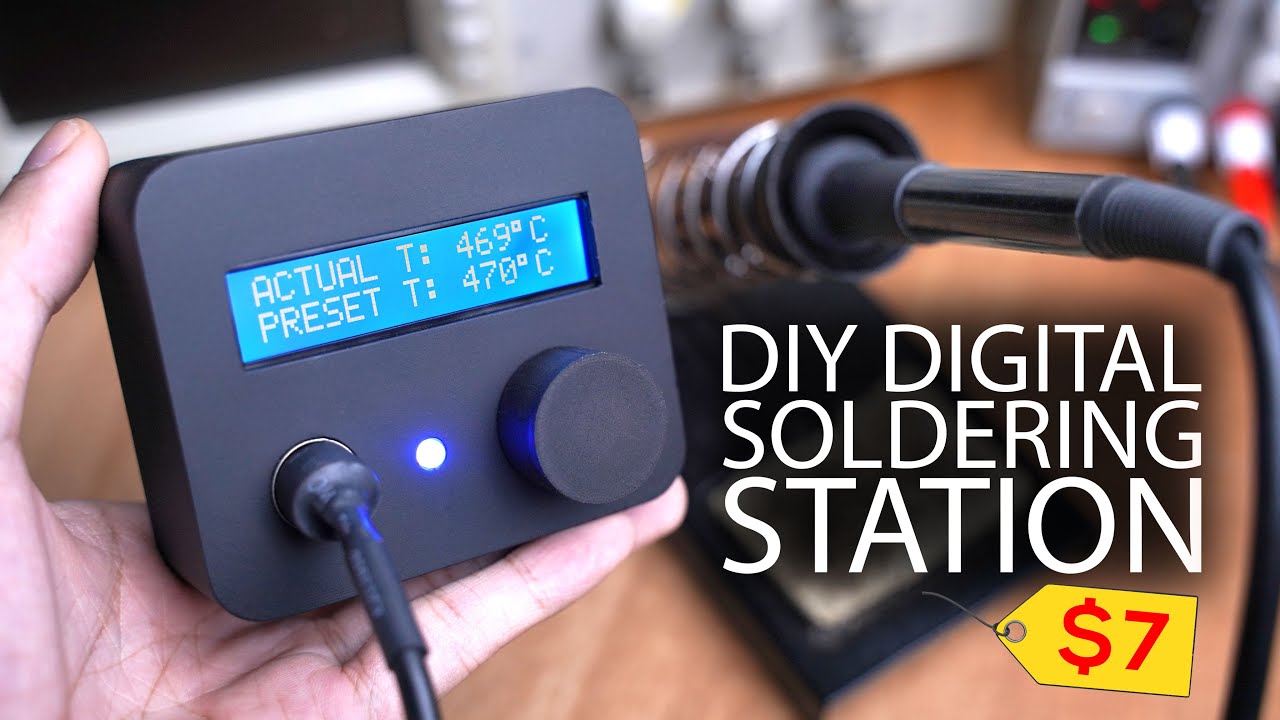
I built a digital soldering station using an Arduino Nano and a Hakko 907 handle that heats up in about 25 seconds and maintains constant temperature. Total cost is way less than buying a commercial station.
- Hakko 907 soldering iron handle (clone works fine)
- Arduino Nano
- 24V 3A power supply (laptop chargers work)
- N-channel logic-level MOSFET
- Op-amp (for temperature sensor signal conditioning)
- 16x2 LCD with I2C driver (or regular LCD)
- 10k potentiometer
- Buck converter
- DC jack, fuse, wires, solder, flux
- Enclosure (3D printed or project box)
How the Hakko 907 Handle Works
The Hakko 907 has a heating element with a thermistor built into the tip. It runs on 24V at 50W. The thermistor changes resistance with temperature — that's how we read the tip temperature.
I tested a clone handle and honestly, it performs just as well as the original. If you want, you can buy a clone handle and swap in an original Hakko element, but it's not necessary.
The Temperature Sensing Problem
Here's the issue: the thermistor's resistance changes, but not by much over the operating range. If you connect it directly to the Arduino's analog pin through a voltage divider, the voltage difference between room temperature and soldering temperature is tiny — way too small to read accurately.
I mapped out the thermistor response by heating the tip and recording resistance vs. temperature. Lucky for us, it's linear within the soldering range (200-400°C), which makes programming simple.
To fix the voltage range problem, I added an op-amp to amplify the signal. This gives us a nice 0-3.58V range that the Arduino can read cleanly.
Building the Circuit
The control side is straightforward:
- Arduino reads the amplified thermistor signal
- Compares it to your set temperature
- Uses PWM through the MOSFET to control power to the heating element
I designed a single-sided PCB that's easy to etch at home, but I got professional boards from PCBWay for cheap — $5 for five boards.
Assembly Steps
- Mount the MOSFET — Screw it down. Logic-level MOSFETs don't need a heatsink since they're fully saturated.
- Place components — Follow the silkscreen. Don't solder the buck converter yet.
- Calibrate the buck converter — Power up with 24V, set multimeter to the output, and adjust the trimmer until you get 6.5V. This accounts for the Arduino's dropout voltage. Then solder it in place.
- Solder everything — Use flux. Tape components down if they wiggle. Clean flux residue with alcohol or acetone.
- Wire external components — DC jack, fuse (add one for safety), potentiometer for temperature control, LCD, and the DIN connector for the iron handle.
Programming
Download the code from the link in the video description. Open it in Arduino IDE. Make sure you have the required library installed.
There are only two variables you might need to adjust:
- Temperature calibration offset (if readings are off)
- Max PWM value (if using an underpowered supply)
Upload to the Arduino Nano. The code works on a simple bang-bang control loop: heater on when temp is low, off when it's high, then pulses to maintain steady temperature.
Enclosure
I 3D modeled a compact enclosure in SolidWorks and printed it. Painted it matte black. You can download the STL files from the links below.
If you don't have a printer, grab a project box and drill holes for the LCD, knob, DC jack, and DIN connector.
Testing
Power it up with 24V 3A. The iron should hit temperature in about 25 seconds. Turn the knob — the temperature changes smoothly.
One tip: put thermal paste inside the soldering tip where the heating element goes. It improves heat transfer and speeds up warm-up even more.
Power Supply Options
I tested different voltages and measured current draw. 24V 3A gives the best performance. Repurposed laptop chargers work great — just make sure they can deliver enough current.
That's it. You've got a proper digital soldering station for a fraction of the cost of a commercial unit. No more waiting, no more guessing temperatures.