What You'll Need
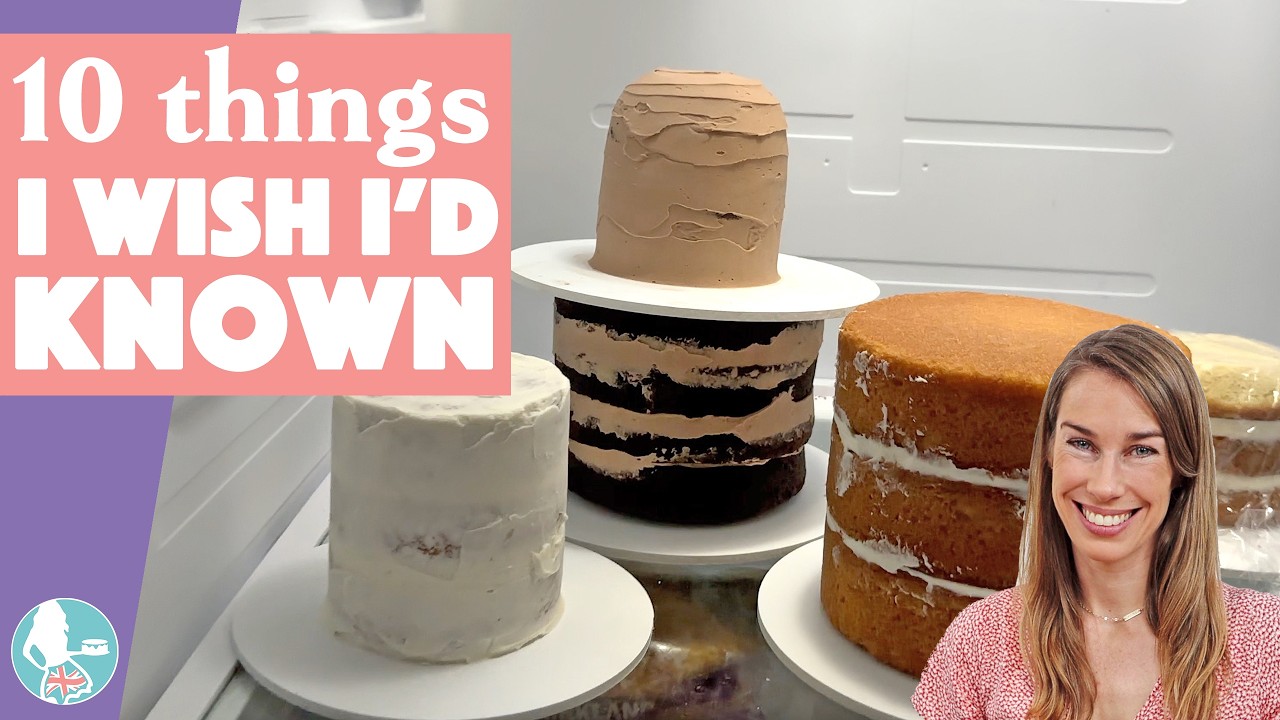
I've been decorating cakes for 13 years, and I've learned most of these the hard way. Here are the things I wish someone had told me when I started.
- Cake boards (various sizes)
- Buttercream frosting
- Freezer space
- Cling film / saran wrap
- Cupcake tray
- Microwave
The Tips
1. Pick the Right Cake Board Size
Your cake board needs to be at least 2 inches wider than your cake. When you add a crumb coat, final coat, and decorations, your cake gets bigger. If you go right to the edge of the board, it looks awful and you can't transfer it neatly to another board. When in doubt, go bigger.
2. Use Your Freezer
Frosting a room-temperature cake is a mess. Crumbs get everywhere and the cake slides around. Put a dot of buttercream on your cake board, place your first layer down, then stick the whole thing in the freezer for 15 minutes. The buttercream sets at the bottom, the cake firms up, and your frosting glides over it without pulling up crumbs.
Worried about freezing changing the taste? I've done blind taste tests. I honestly can't tell the difference between a cake baked that morning and one frozen for a week and thawed properly.
3. Room Temperature Matters More Than You Think
I moved to Texas five years ago and learned this the hard way. In winter, my garage studio had no heat — the buttercream froze onto the cake and I couldn't smooth it. In summer, it hit 110°F and cakes melted in front of me.
If your buttercream is too stiff, microwave the bowl for 10 seconds. If it's too runny, stick it in the freezer for a minute or two. Temperature is usually the problem, not your recipe.
4. Don't Wait Hours for Ingredients to Warm Up
Recipes always say "room temperature eggs and butter." You don't need to wait. For butter, microwave 10 seconds, flip it, another 10 seconds. Done. For eggs, put them in lukewarm water (not hot) for about 5 minutes. Magic.
5. You Don't Need Fancy Tools
When I had a cake shop in Costa Rica, I bought every fancy tool I could find in the US and England. Turns out you can hack most of them with stuff you already have. Parchment stencils, for example, cost pennies.
6. Use a Cupcake Tray for Small Batches of Colored Buttercream
Instead of mixing colors in separate bowls (and washing a mountain of dishes), mix them in a cupcake tray. Everything's close together, easy to stir, and the tray takes seconds to wash.
7. Be Strategic With Your Time
Don't block off an entire day to make a cake. You'll waste hours waiting for things to bake, cool, and chill. Bake layers and make buttercream while the oven's on. Make decorations in advance. Then schedule a shorter window just for assembly and decorating. I used to squeeze this into my baby's nap time.
8. Freeze Finished Cakes
This saved me when I had kids at home and events that got rescheduled. After decorating, put the cake in the freezer unwrapped for 30 minutes to set the frosting. Then wrap it in two layers of cling film and freeze for up to a month. It won't absorb flavors if it's sealed.
To thaw: move it to the fridge the day before. Take it out 2 hours before serving and unwrap it immediately before the buttercream decorations soften.
9. Charge for Custom Decorations
If you're selling cakes, every decoration costs time and money. If you don't raise your price, you're losing money on those cakes.
10. Charge for Deliveries
Gas, wear and tear on your car, and your time driving there and back — all of it costs money. Don't eat that cost.
Which tip are you going to try first? I've learned most of these by making mistakes, so if you've got something that took you too long to figure out, drop it in the comments.